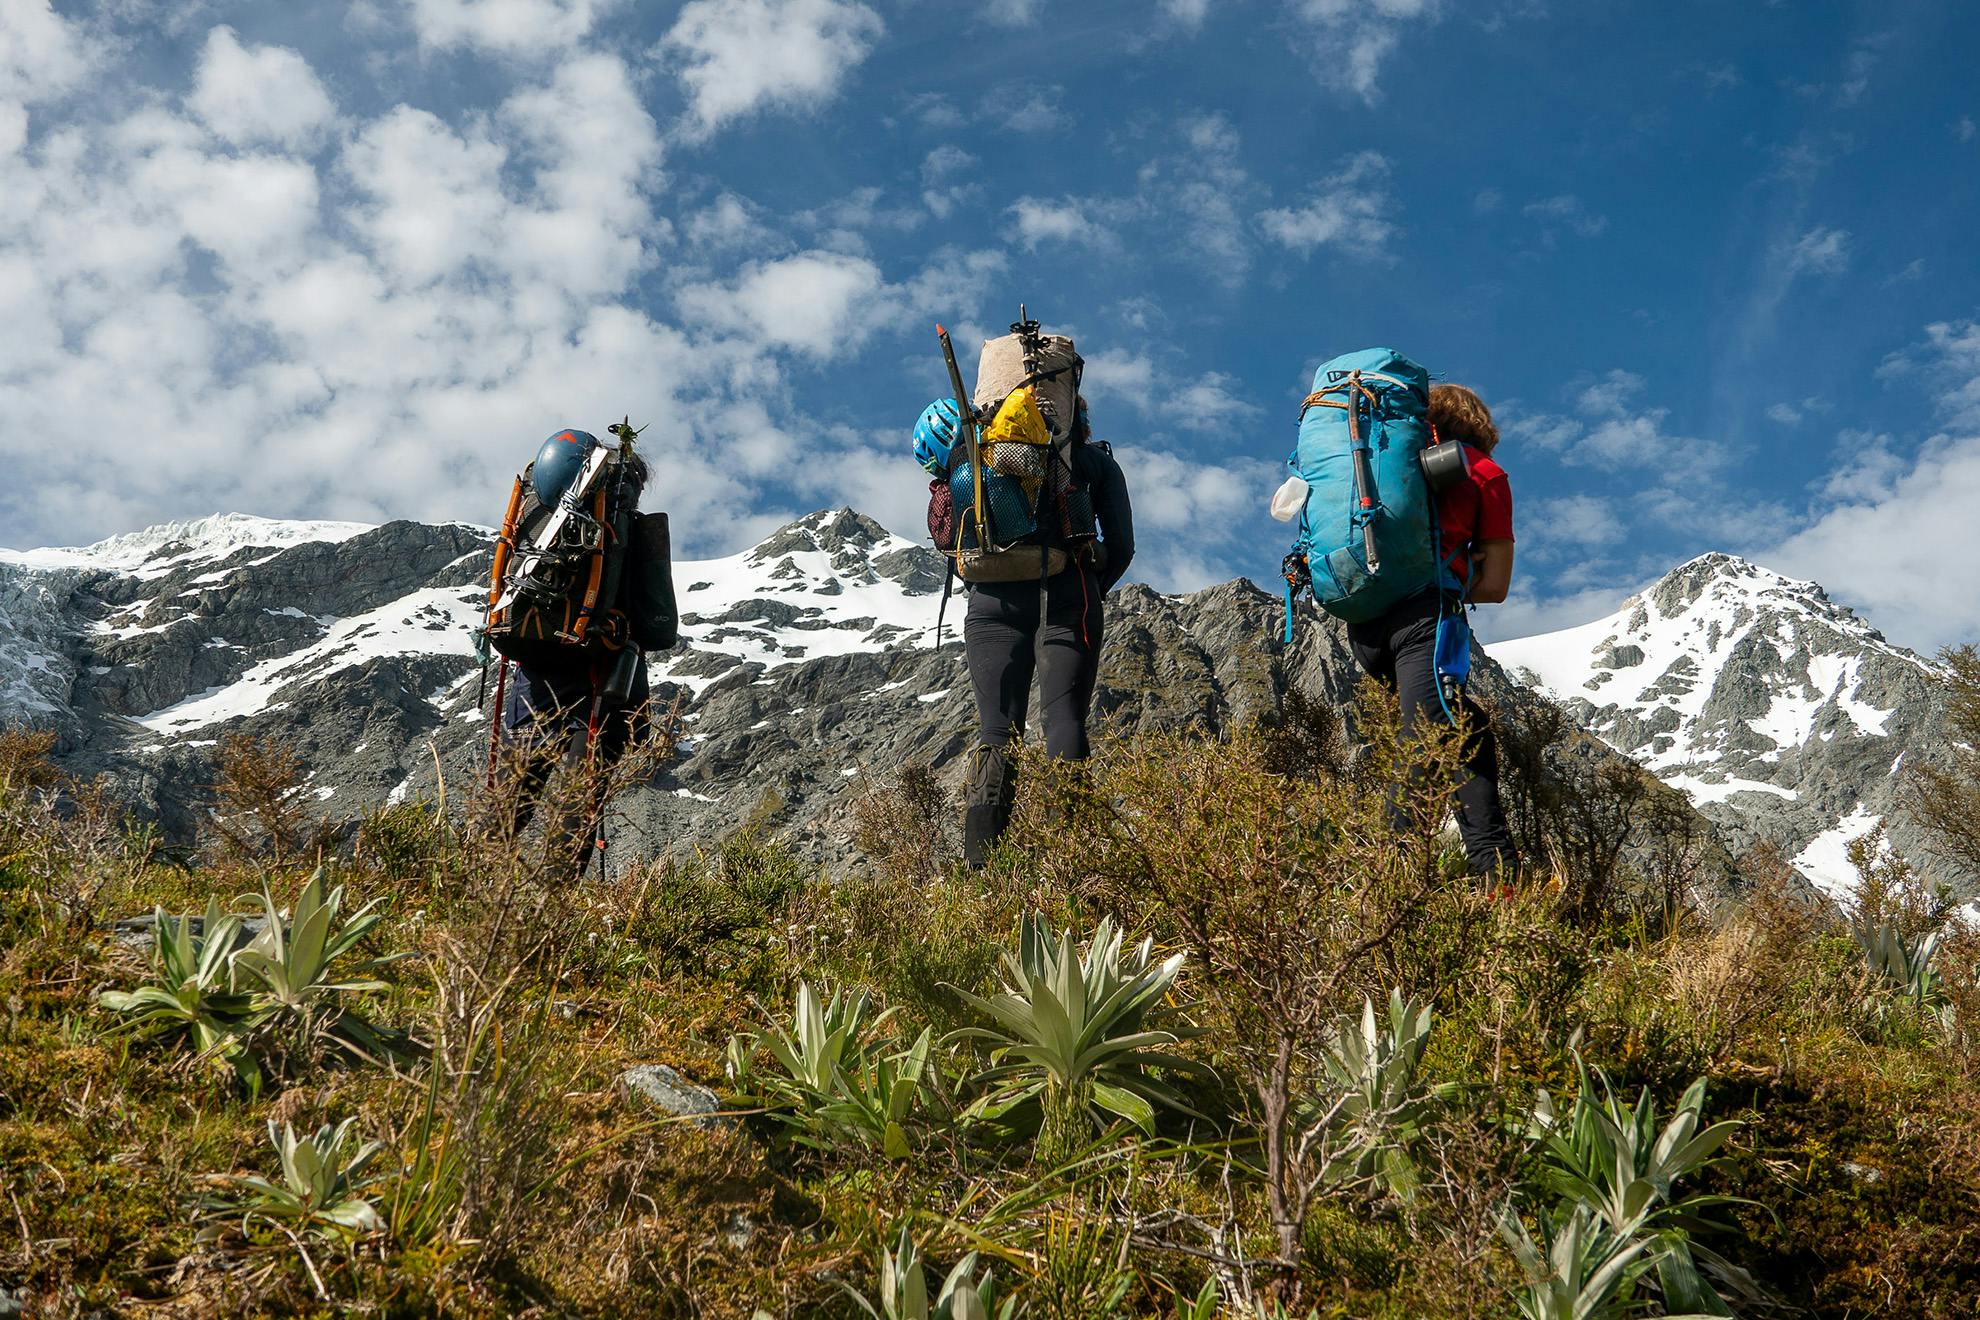
A non-stop 85-day traverse of the Southern Alps is hard on the body, mind and especially gear.
I set off from the Divide Shelter on the Milford Road in late spring, and I had no idea how long this adventure would take, nor exactly where it would take me.
I planned to traverse the Southern Alps and needed to be at Farewell Spit by the end of January. I had a rough outline of the route and was to meet a few people on key dates along the way.
Eighty-five days, 1153.5km and 59,234m in elevation gain later, having truly used and abused my gear, I reached my destination.
Here are the 10 biggest gear lessons I learned along the way.
1. Even an analogue watch can fail
I took my trusty analogue watch because I wasn’t sure I could keep my Garmin charged for such a long time. And what’s the point in a watch with fancy exercise metrics if you aren’t going to use them?
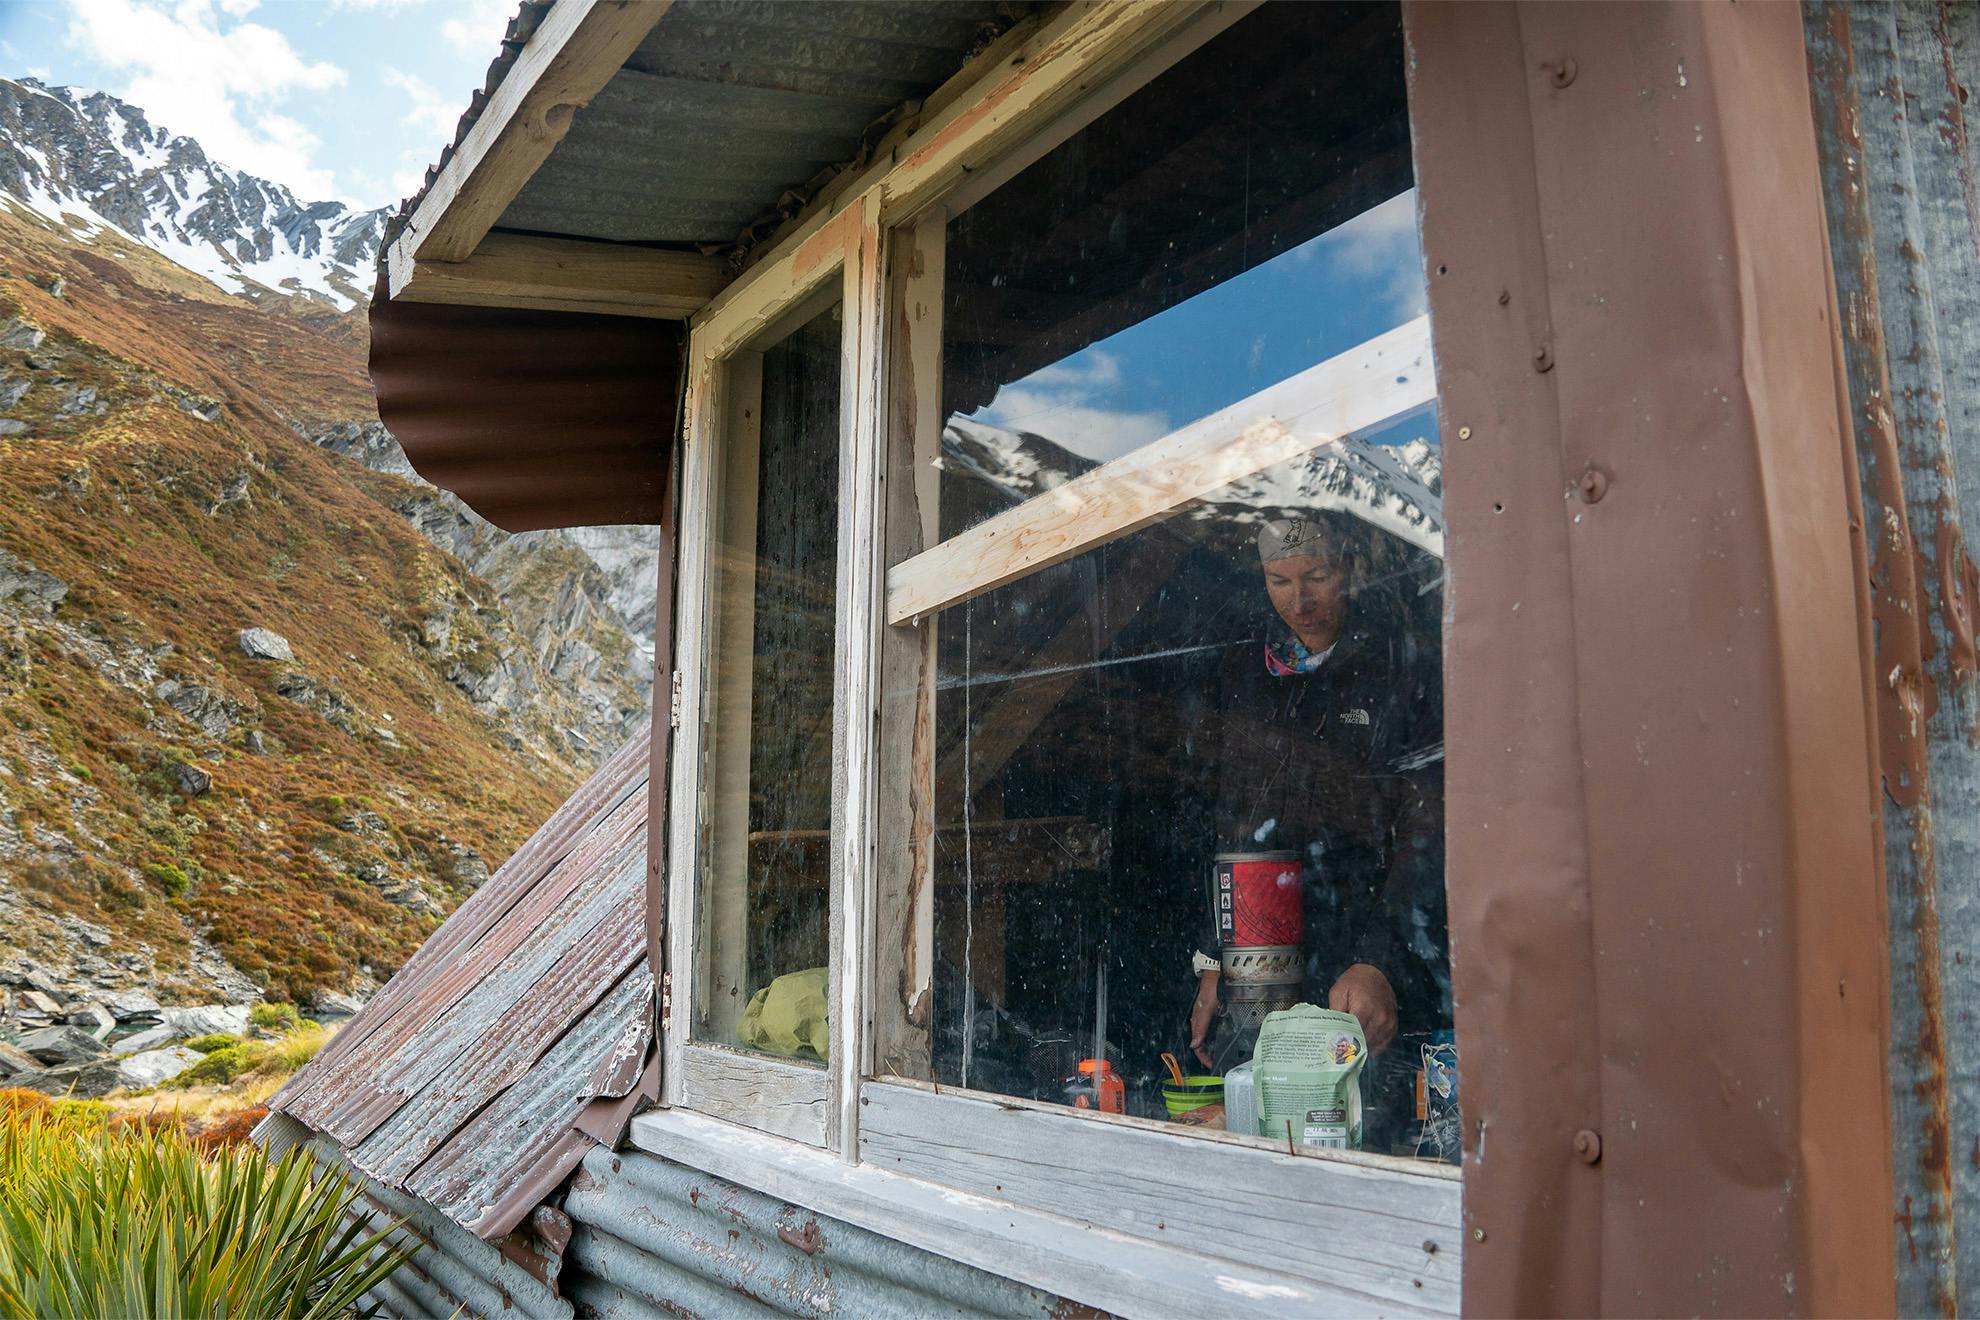
South of Arthur’s Pass, I used a SunSaver Classic and SunSaver Power-Flex solar charger to keep my phone and inReach charged. North of Arthur’s Pass, I switched to a heavier duty SunSaver 24K and SunSaver Super-Flex solar charger as I was uncertain where there would be places to recharge. In truth, the Classic would have been fine.
My ‘trusty’ watch stopped working on day two, forcing me to message out for an expensive and specific battery to be brought to the next road end. By the time I got there, the watch was working again, but I carried the spare battery for the remainder of the trip. Maybe the watch was shocked at being used again after so long being on my bedside table.
2. Garmin inReach message locations don’t work for New Zealand numbers
A safety plan on this adventure, with significant solo sections, was to message my location to a select group of contacts each night. This would also allow a map to be updated so that friends and family could check my progress. Although I checked everything before I left I found my contacts weren’t receiving my location on these daily messages. When in Wānaka to regroup after the first stages, I tried to sort this out. After multiple test text messages with different settings and no success, I contacted Garmin. It turns out that sending location links to New Zealand phones in a text message doesn’t work, and Garmin doesn’t intend to rectify this. In the end, I sent a daily email to my contact people instead.
3. I didn’t need the lightest gear
I was less fit than I’d hoped, but I didn’t have much money to replace perfectly functional items with slightly lighter versions; so I went with what I had and vowed to get some lighter gear upon arriving in Wānaka if warranted. But in the end I didn’t replace anything in Wānaka, and even though I went through my gear gram by gram I wasn’t able to cut anything out. In reality, a heavier load meant greater safety on this trip. Bikepackers always say the best bike is the one you already have, and I think the same is true here.
4. Which rope is too thin and which ATC?
I decided a new rope was worth investing in. I tossed up between an Edelrid 6mm dynamic rap cord and an Edelrid 7.1mm half-rope. I thought a rap line for glacier travel might be taking things a bit too far, and purchased the half-rope. I christened it ‘Minties’ because ‘It’s moments like these you need Minties.’ To go with this generation of lighter, skinnier rope I also needed a new ATC, which I promptly left behind in Pioneer Hut. It meant that I had to learn some new techniques for abseiling without an ATC.
5. Do you really need a stuff sack?
I’ve always stuffed my down jacket into a stuff sack because it has one and that’s what you do. Until, at our day spa camp on the Tasman moraine my sleeping bag stuff sack ripped, so I used my jacket bag for my sleeping bag instead. I then used various parts of the damaged stuff sack to repair other gear items that were showing signs of wear. This included the drawstring to my hat to keep it on in the wind. It turns out my down jacket does just fine without a stuff sack and fits better in odd corners of my pack. Also, I saved faff time by not having to restuff it each morning.
6. Sew your Buff to your hat
I am and will always be a ‘shorts on glacier girl’ but in high mountain snow and glacier travel, the more your skin is covered the better. Just before the section with the most glaciers and snow travel, I sat down and, with a few sewing items from my survival kit, I sewed my Buff neck gaiter into my hat so that it covered the back of my neck, protecting it from the sun. I left the top end of the buff open, so in cold conditions I could also wear the buff around my neck with the hat on.
7. Waterproof pants suck
I’ve never liked the cold, plastic feeling of waterproof pants against my bare legs, but if I put long johns on I tend to overheat. I balance this carefully and often choose to get my lower half wet. But in the wet weather and snow at the start of the trip, waterproof pants were not optional. I basically lived in them for a week, and inevitably they got torn. I patched them with duct tape (I keep some wrapped around a hiking pole) and thought that would hold. However, the weather did not improve and when the pants disintegrated a second time I admitted defeat. I messaged my contacts for a replacement pair to be dropped at Arthur’s Pass and, incredibly, two pairs showed up! For this trip, maybe some more durable pants would have been a better call. Ironically, after Arthur’s Pass, I didn’t need them again.

8. Good tramping shorts are invaluable
I lived in one pair of Macpac shorts for this entire adventure. Surprisingly, a good pair of tramping shorts can be hard to find. Now that I’m looking for a new pair, here is what I think makes them great:
1. Navy blue: I don’t know why, but all the good ones have been.
2. Elastic waistband: slip on easily, no zip to break, no pressure points under a heavy pack’s hip belt. The wider the waistband, the better.
3. No seam between the legs: this is key to avoiding chafe. My theory is that chafing always happens once the shorts are wet and are at that stage of drying when they stick slightly to your legs. Having a seam there seems to be just enough of a catalyst to start this off, and once it’s started, it won’t stop.
4. Soft and quick-drying fabric.
9. Repair it yourself
This is an ode to my Cactus Duper gaiters that, for some reason, Cactus has ceased to make. These are my best-loved gaiters, probably one of my favourite items of tramping gear. I love the style with front padding that protects the shins and means the gaiters stay up on their own without needing to be tight around your calves – important for breathability. I wore my last pair into the ground during this adventure, and no one is willing to repair them. So I have. I don’t own a sewing machine or have access to one that’ll sew canvas. But a friend put me onto a certain type of building tape that has been perfect. I’ve been innovative before with gear repair. I currently own a tent that I laboriously repaired in my study breaks while at university after a repairer told me all hope was lost.
10. What on earth are you eating?
On the first day of my trip I couldn’t make it through a single dehy meal at dinner. At Dart Hut I ended up giving away chocolate, a box of crackers and half a packet of Gingernuts to some excited trampers, and still couldn’t eat all the food I was carrying. By the end of the trip I was eating everything and anything, including all hut food and, at one point, cold-soaked pasta dipped in sugar. On my final stage, I had to double my rations and eat two dinners a night – at times two 800 calorie meals.
I had budgeted for the energy I was burning on a daily basis but hadn’t thought to take into account how my metabolism would change on an adventure like this. Next time I’ll start with rations closer to what I eat on a 2–7-day trip for the first few weeks and ramp these up each week. I can carry more food at the end of the trip when I can manage the extra weight and need to eat more.
A typical day would start with a homemade smoothie mix (oats, berries, seeds and protein powder) or a Real Meals Bircher muesli (my favourite). Snacks throughout the day were lollies, chocolate, more protein powder, electrolytes, nuts, dehydrated yoghurt (another favourite), dried fruit and some sort of carbohydrates like corn chips. I did carry some muesli bars, but I don’t particularly enjoy eating those, even when ravenous. Dinners were a mix of Radix Meals for their nutritional balance and high calories, some Real Meals for their authenticity to actual meals and flavours, and some home-dehydrated meals – mostly dahl – because dehy is expensive and I like to use my dehydrator.